
Essential Steps to Perform an Architectural Site Analysis for a New Building Project
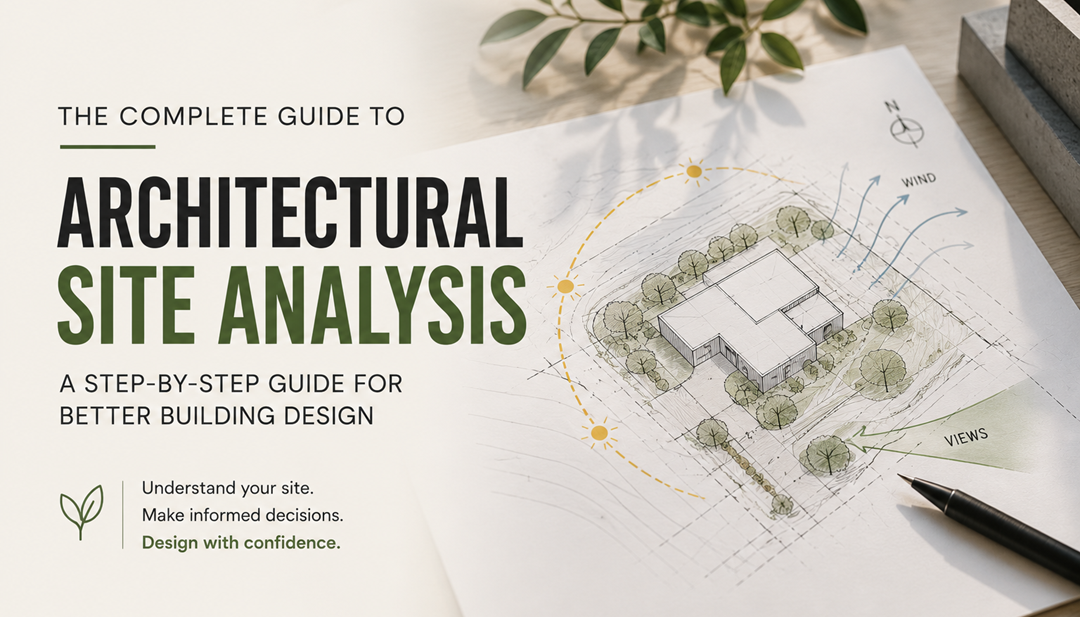
Every successful building begins with a thorough understanding of the site. Before sketches, floor plans, or 3D models are developed, architects and building designers must carefully evaluate the land where the project will be built. This process, known as an architectural site analysis, helps identify opportunities, constraints, environmental conditions, and regulatory requirements that influence the final design.
Whether you're planning a custom home, commercial development, medical spaces, or a multi-unit project, conducting a detailed site analysis can save time, reduce construction costs, and prevent costly design revisions later in the process.
This guide explains the essential steps involved in performing a professional architectural site analysis and why it is one of the most important stages of any new building project.
Why Site Analysis Is Important in Building Design
- Designs a building suited to the land, not a generic layout dropped onto it
- Improves natural light, ventilation and overall energy efficiency
- Reduces the risk of unexpected construction costs
- Identifies planning and regulatory constraints early
- Protects significant trees, vegetation and neighbouring amenity
- Strengthens the case for a smoother planning permit approval
- Informs smarter siting, orientation and material choices
- Highlights opportunities the site offers, not just its limitations
- Builds client confidence that the design is grounded in evidence
A thorough site analysis lays the groundwork for a practical and well-informed building design. It enables architects and building designers to make decisions based on real site conditions rather than assumptions, helping minimise design revisions and construction challenges. By identifying opportunities and constraints early, the project can progress more efficiently while delivering a better outcome for both the client and future occupants.
Essential Steps to Perform an Architectural Site Analysis
Step 1: Understand the Client's Goals
Before visiting the site, we clarify the project's objectives. Typical questions include:
- What type of building is being proposed?
- How many occupants will use it?
- What is the available budget?
- Are there future expansion plans?
- What lifestyle or business requirements exist?
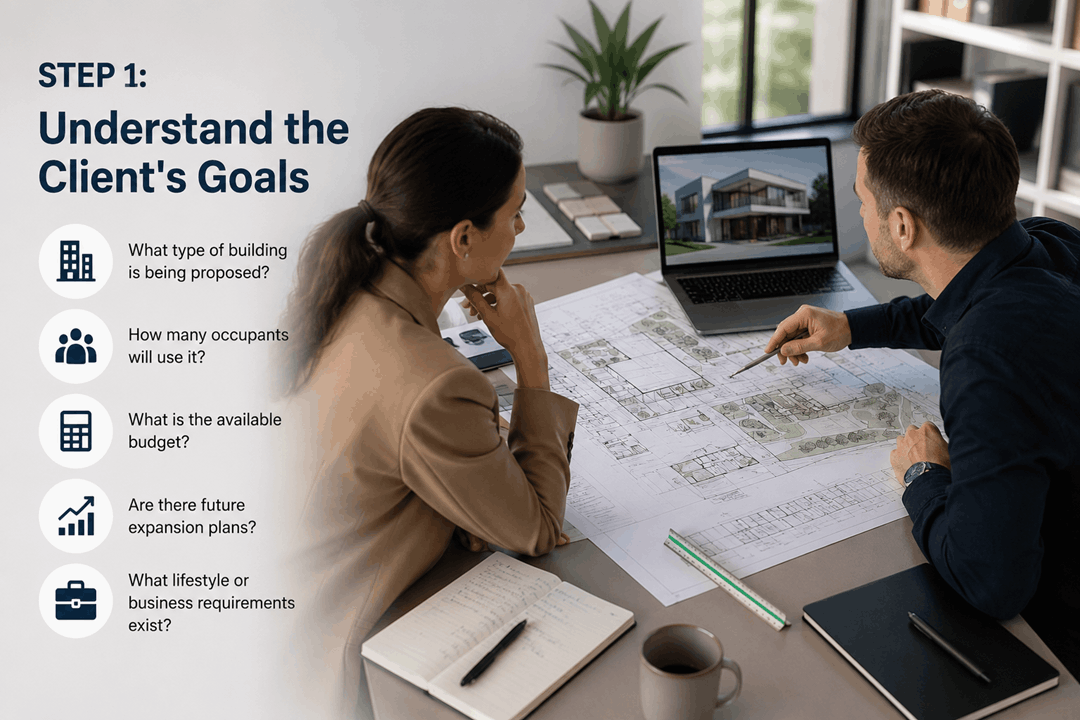
Before any technical assessment begins, we clarify what the project actually needs to achieve — the intended use, expected occupancy, budget range, and whether the client wants room to expand later. This shapes how the rest of the analysis is prioritised.
Step 2: Collect Existing Site Information
We gather everything already on record, including:
Property Details
- Property boundaries
- Easements
- Existing structures
- Levels
- Services
Planning Information
- Local planning schemes
- Zoning regulations
- Building overlays
- Heritage restrictions
- Bushfire or flood overlays
- Environmental controls
Utilities
- Water
- Sewer
- Electricity
- Gas
- Stormwater
- Telecommunications
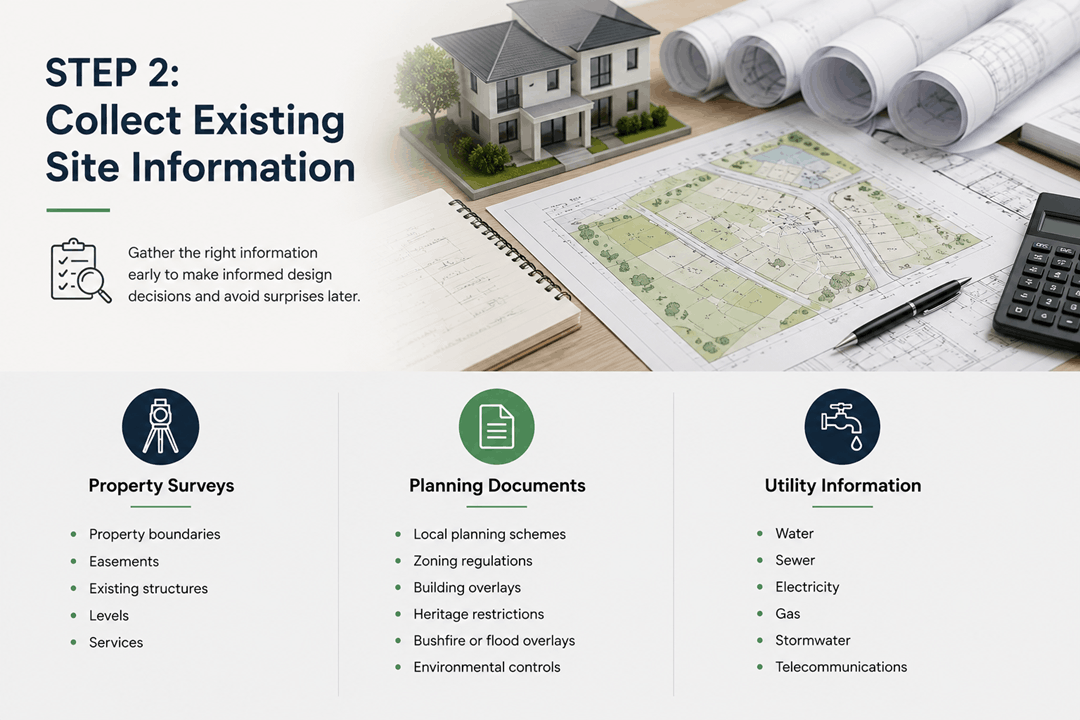
We gather everything already on record: property surveys, title boundaries, existing planning overlays, and utility or services information. Starting from accurate data avoids assumptions that can unravel later in the process.
Step 3: Visit the Site
On site, we observe and record details such as:
- Land slope
- Ground conditions
- Existing trees
- Drainage patterns
- Vehicle access
- Pedestrian movement
- Noise sources
- Nearby buildings
- Views
- Privacy
- Potential hazards
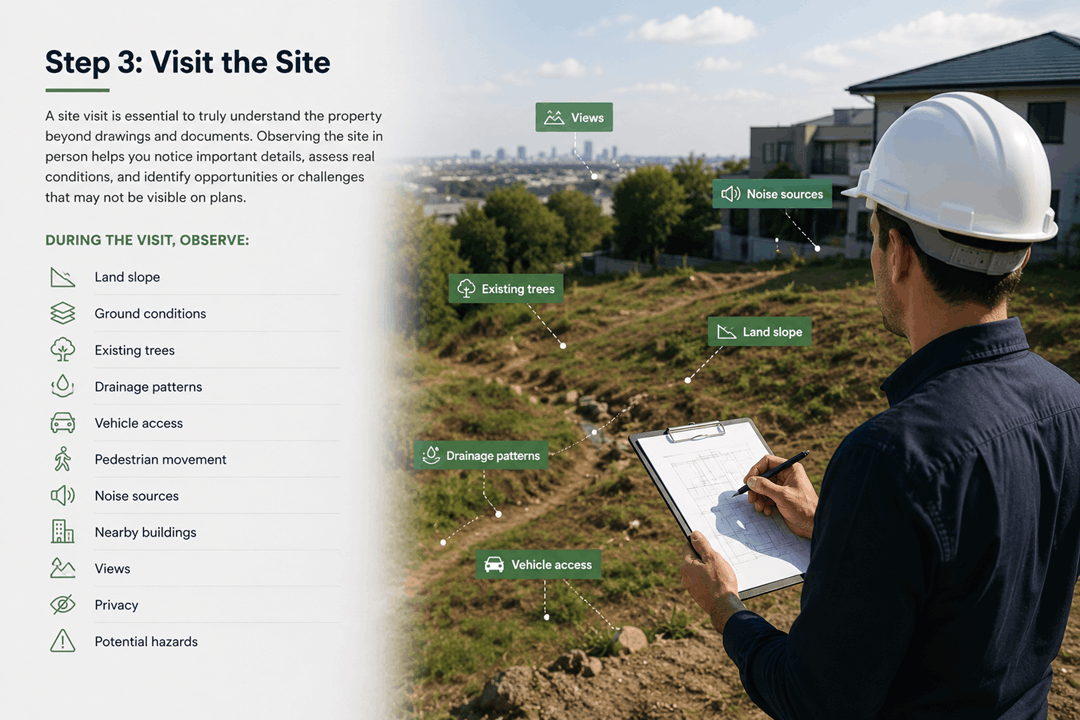
Desktop research only tells part of the story. A physical site visit lets us observe how the block actually feels — the fall of the land, existing structures, noise, outlook, and the character of the surrounding street — details that rarely come through in documents alone.
Step 4: Assess Topography and Landform
Slope, elevation and ground conditions typically call for responses such as:
Slope
- Retaining walls
- Split-level designs
- Additional excavation
Elevation
- Better views
- Improved airflow
- Reduced flood risk
Soil Conditions
- Soil type
- Bearing capacity
- Rock presence
- Ground movement potential
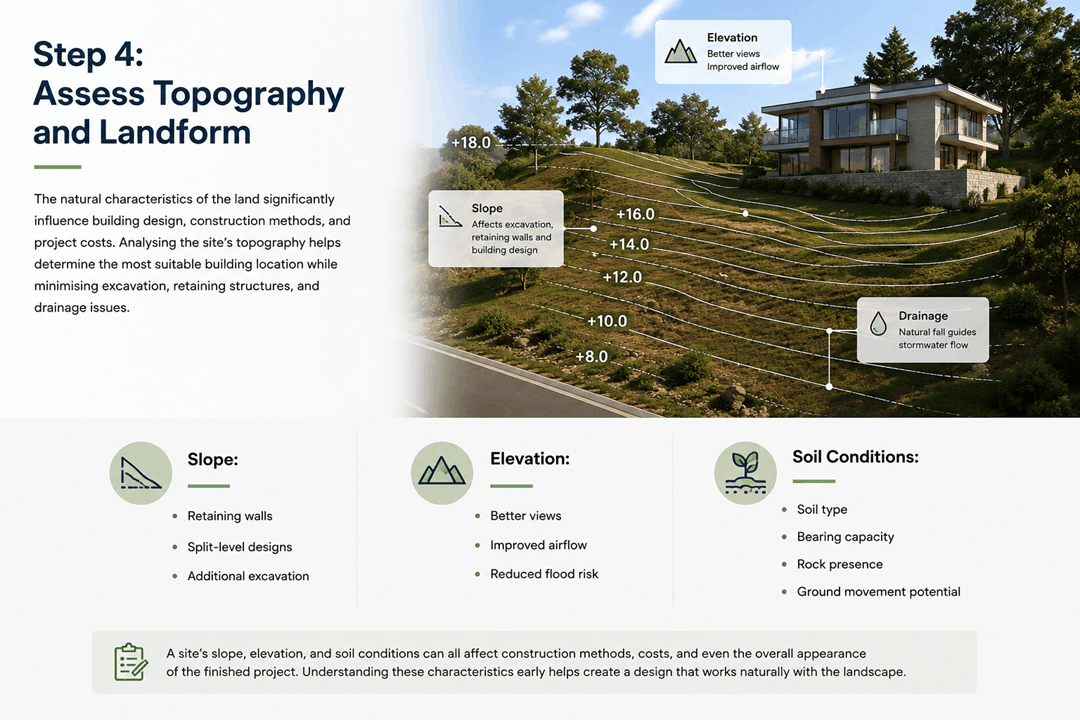
Slope, elevation changes and soil conditions all influence how a building can sit on its site. Understanding topography early helps avoid excessive cut-and-fill, retaining costs, or drainage issues further down the track.
Step 5: Study Climate and Environmental Conditions
Climate factors we study include:
- Sun Path
- Wind Direction
- Rainfall
- Temperature
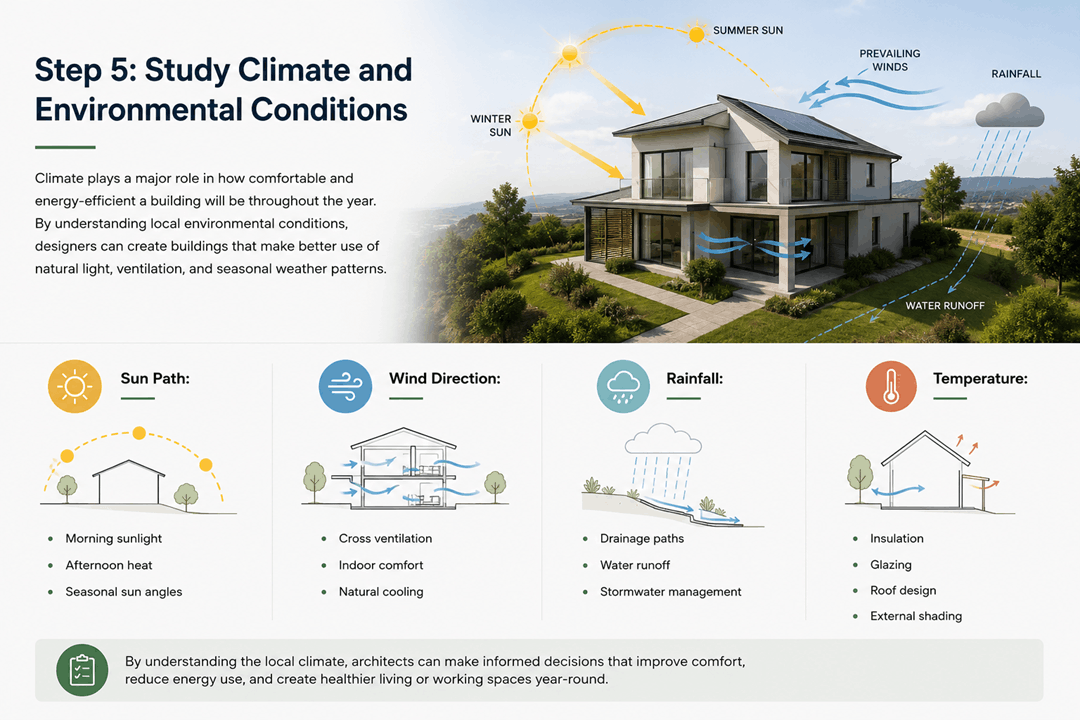
Sun path, prevailing wind, rainfall and seasonal temperature swings all inform orientation and passive design decisions — where living spaces sit, where glazing goes, and how the building manages heat and light across the year.
Step 6: Evaluate Existing Vegetation
We check for factors such as:
- Significant trees
- Protected vegetation
- Root zones
- Native species
- Landscape opportunities
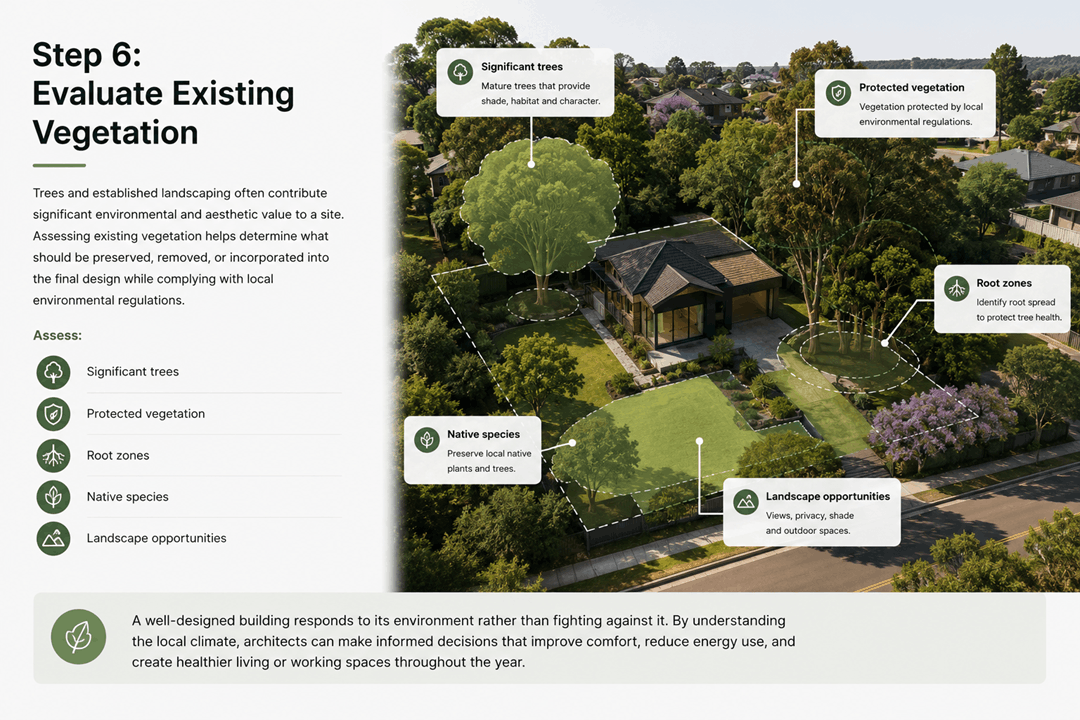
Established trees, protected species and native plantings can all affect what's buildable on a site. We assess what should be retained, what's protected under local controls, and how landscaping can be worked into the design rather than removed by default.
Step 7: Analyse Access and Circulation
We consider access across three categories:
Vehicle Access
- Driveway location
- Parking opportunities
- Turning circles
- Service vehicle access
Pedestrian Access
- Entry paths
- Accessibility
- Safety
- Connectivity
Construction Access
- Machinery access
- Material delivery
- Temporary site access
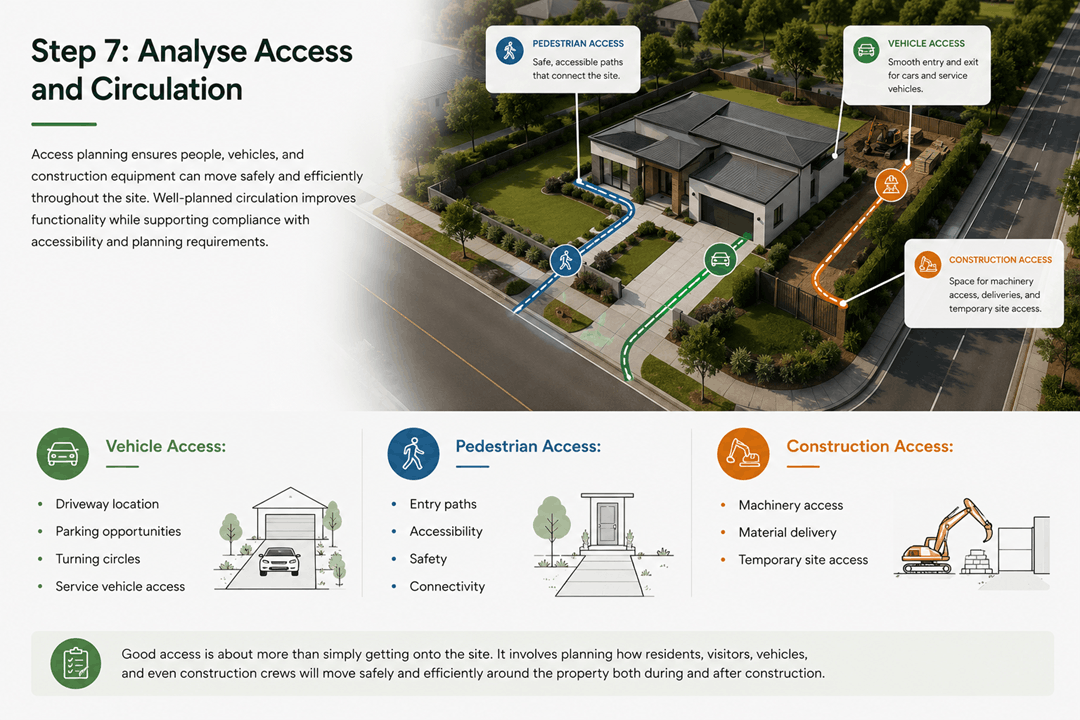
How people, vehicles and construction traffic move around a site affects everything from driveway placement to staging a build. We map existing access points and consider how they'll function once the project is complete.
Step 8: Examine Surrounding Context
Context factors we review include:
- Building heights
- Setbacks
- Streetscape character
- Privacy
- Overshadowing
- Views
- Traffic
- Local amenities
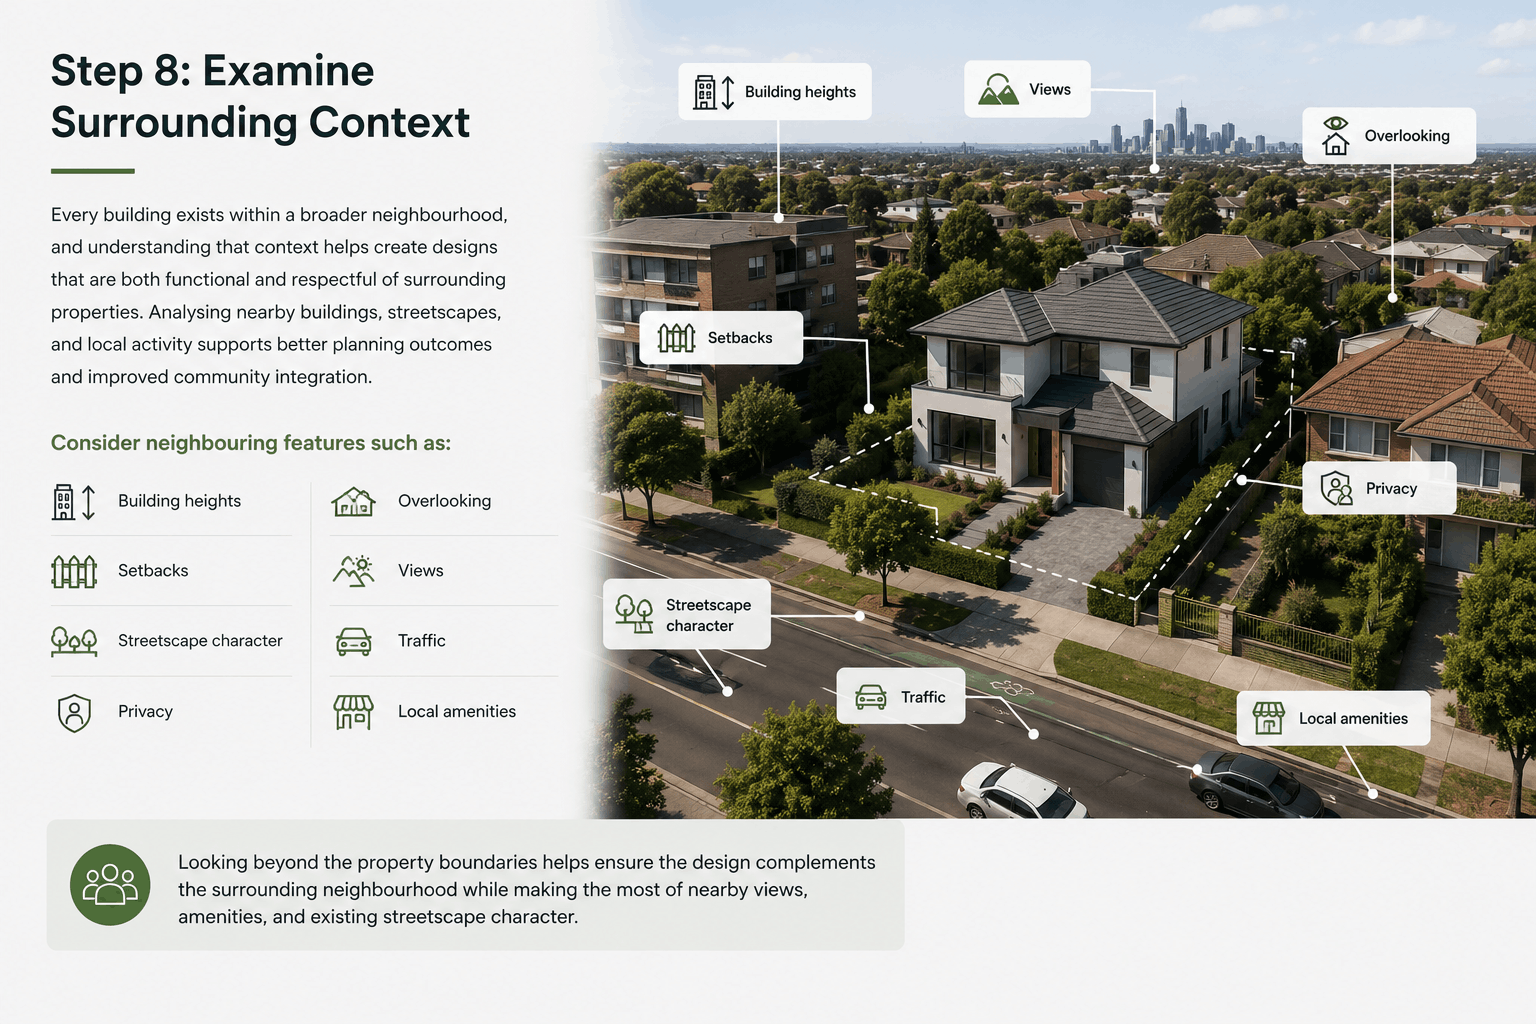
Neighbouring buildings, streetscape character and local landmarks all inform how a new design should sit within its setting — respecting context while still making room for a considered, contemporary response.
Step 9: Review Planning and Building Regulations
Planning controls we check include:
- Zoning
- Setbacks
- Height Restrictions
- Site Coverage
- Private Open Space
- Heritage Controls
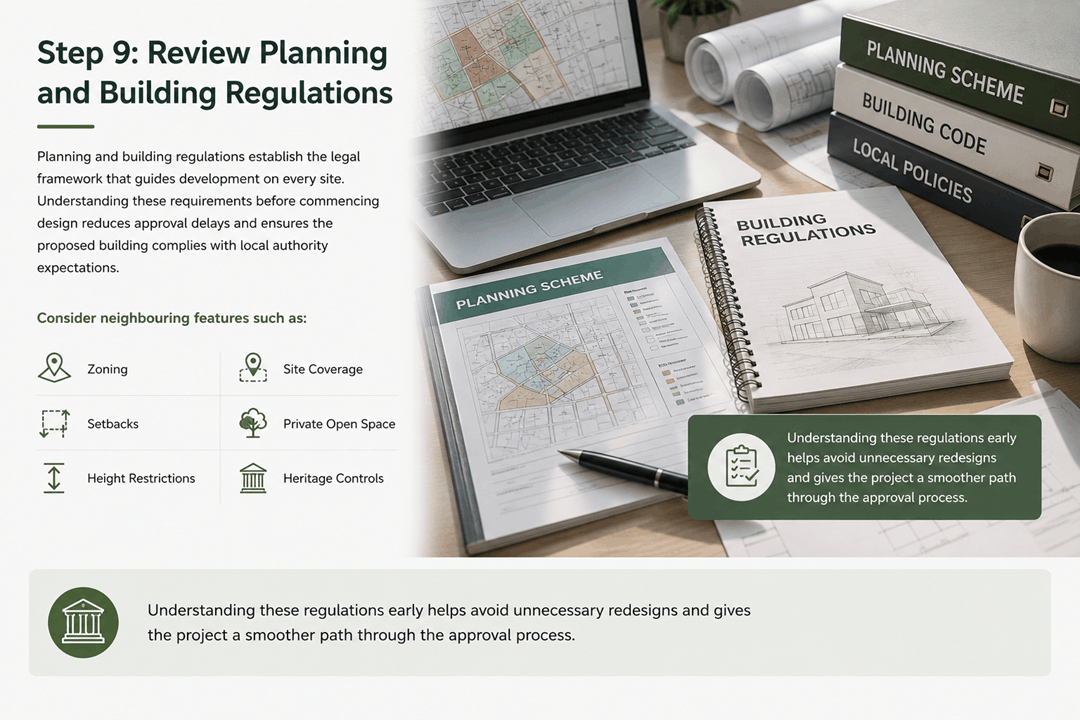
Zoning, setbacks, height limits and overlays set the framework the design has to work within. Reviewing these early means the concept is shaped around what's achievable, rather than redesigned after a planning knock-back.
Step 10: Identify Opportunities and Constraints
This typically breaks down into:
Opportunities
- Scenic views
- Northern solar access
- Existing landscaping
- Corner block access
- Natural ventilation
Constraints
- Easements
- Flood risk
- Steep slopes
- Poor soil
- Noise
- Bushfire overlays
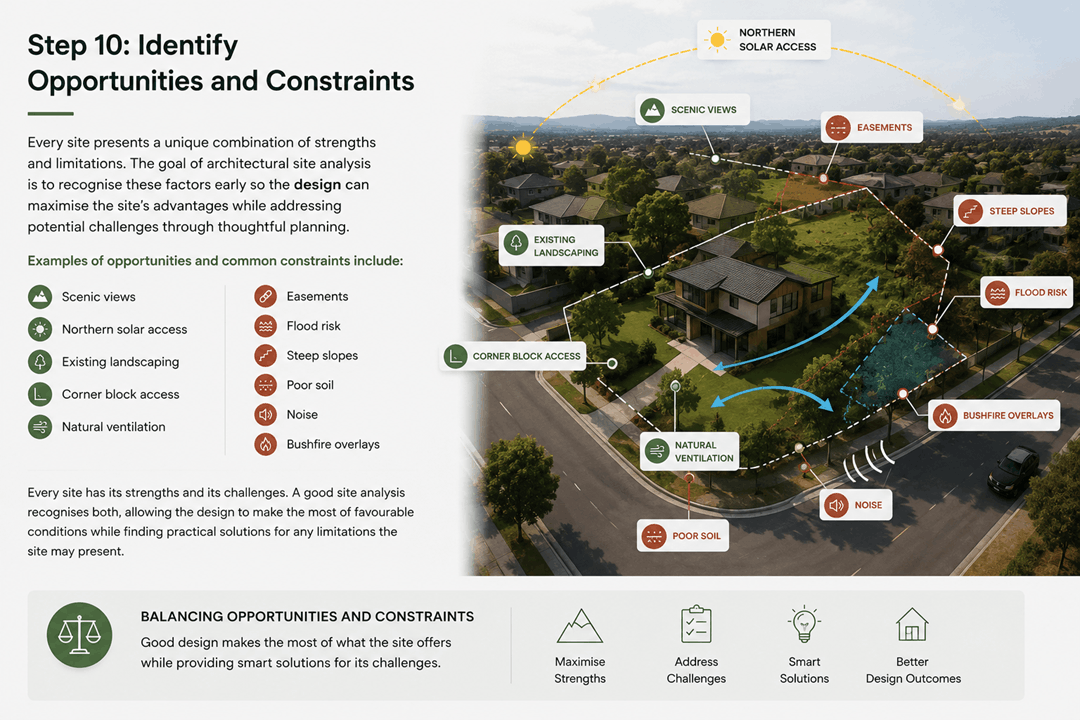
With the groundwork done, we pull everything together into a clear picture of the site's strengths and limitations — the outlook worth capturing, the boundary that limits width, the fall that could become a feature rather than a problem.
Step 11: Document Your Findings
Findings are documented and typically include:
- Boundaries
- Levels
- Vegetation
- Services
- Access
- Sun movement
- Wind direction
- Shading
- Drainage
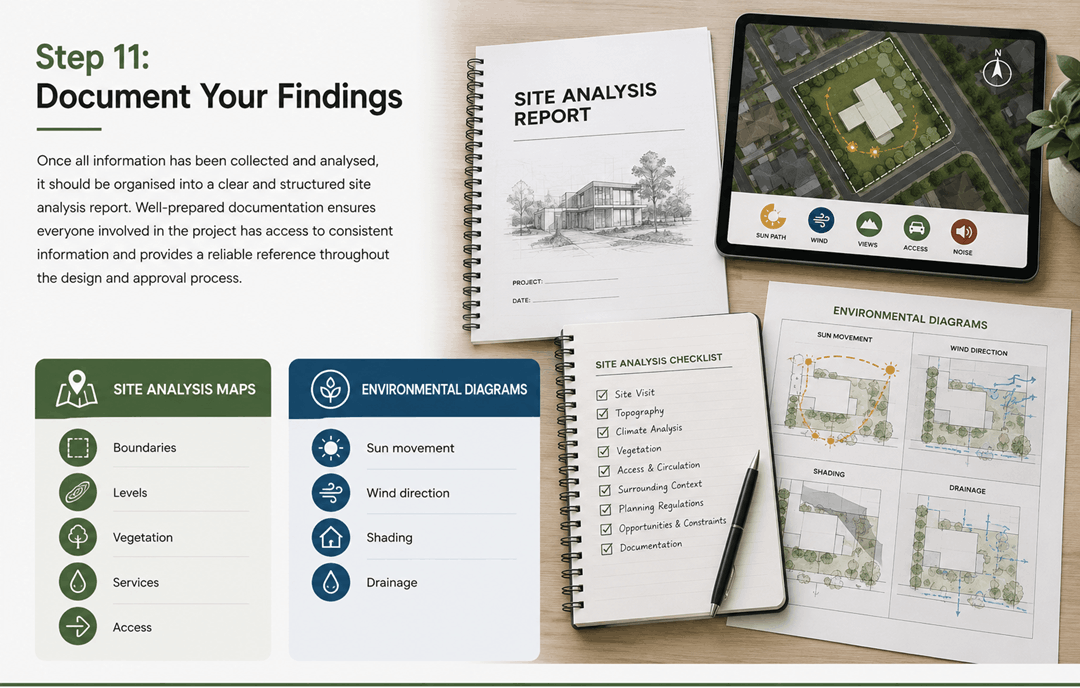
The analysis is captured in site analysis plans and environmental diagrams that carry through into the design process — a practical reference the whole project team can return to as decisions are made.
Common Mistakes to Avoid During Site Analysis
- Skipping a physical site visit and relying on documents alone
- Underestimating the impact of slope and soil conditions
- Ignoring solar orientation until late in the design
- Ignoring protected trees or vegetation controls
- Overlooking overlays that affect what can be built
- Failing to consider construction access early
- Treating site analysis as a formality rather than a design tool
Tools Commonly Used for Architectural Site Analysis
Modern building designers and architects use a combination of traditional and digital tools, including:
- Site surveys
- GPS equipment
- Drones
- GIS mapping software
- CAD software
- BIM platforms
- Sun path analysis tools
- Wind simulation software
- Soil reports
- Planning maps
- Environmental databases
How Site Analysis Influences Building Design
- Building orientation and room placement
- Roof form and massing decisions
- Window and glazing placement for light and privacy
- Material selection suited to climate and context
- Driveway, parking and access layout
- Outdoor living and landscape zones
- Stormwater and drainage strategy
- Energy efficiency and passive design outcomes
- Overall buildability and construction sequencing
Frequently Asked Questions
What is the purpose of an architectural site analysis?
It's the process of studying a site's physical, environmental, regulatory and contextual conditions before design begins, so the building responds to the land rather than being imposed on it.
When should a site analysis be completed?
As early as possible — ideally before any concept design work starts, so the findings can genuinely shape the design rather than justify decisions already made.
Who performs an architectural site analysis?
Typically the building designer or architect leading the project, often supported by surveyors and other consultants for specialist information such as contour surveys or arborist reports.
What information is collected during a site analysis?
Topography, climate and solar orientation, vegetation, access and circulation, surrounding context, and the planning and building regulations that apply to the site.
Can a site analysis improve sustainability?
Yes — by identifying orientation, shading, wind and vegetation early, it allows passive design strategies to be built into the concept from the outset rather than added on later.
Conclusion
Investing time in a detailed site analysis reduces risks, supports better design decisions, and helps avoid costly issues during construction. Whether the project involves a new home, commercial development, or a mixed-use building, thoroughly understanding the site is one of the smartest investments made before the design process begins.